
 >
> >
> >
>
This interface provides the ability to import a single Bibliographic Record or a file of Bibliographic Records one at a time into the OLE database. This allows catalogers to download records from outside sources such as OCLC. The import may be to add a new title, in which case, a new OLE holdings record and item record will also be created, or to replace an existing Bibliographic Description from a different source. If the Bibliographic Description is replacing another, no OLE Instance will be created. If you need to add an additional OLE Instance or Item or modify an existing one, you will need to do so through the editor.
You will be able to edit both the Bibliographic Description being imported and any OLE Instance(s) linked to it during the import process. Once the import process has been completed, only those fields designated as “protected from overlay” will remain from the original Bibliographic Description when replacing an existing bibliographic description. Linkages to purchase orders, circulation records, etc. will also be unaffected.
Note
Import Bib is not intended for batch imports.
For more information about importing batch records, see the Batch Processes section of the OLE Guide to System Administration Functions. This and other OLE user guides are available for download from OLE Documentation Portal.
Call up the Import Bib interface.

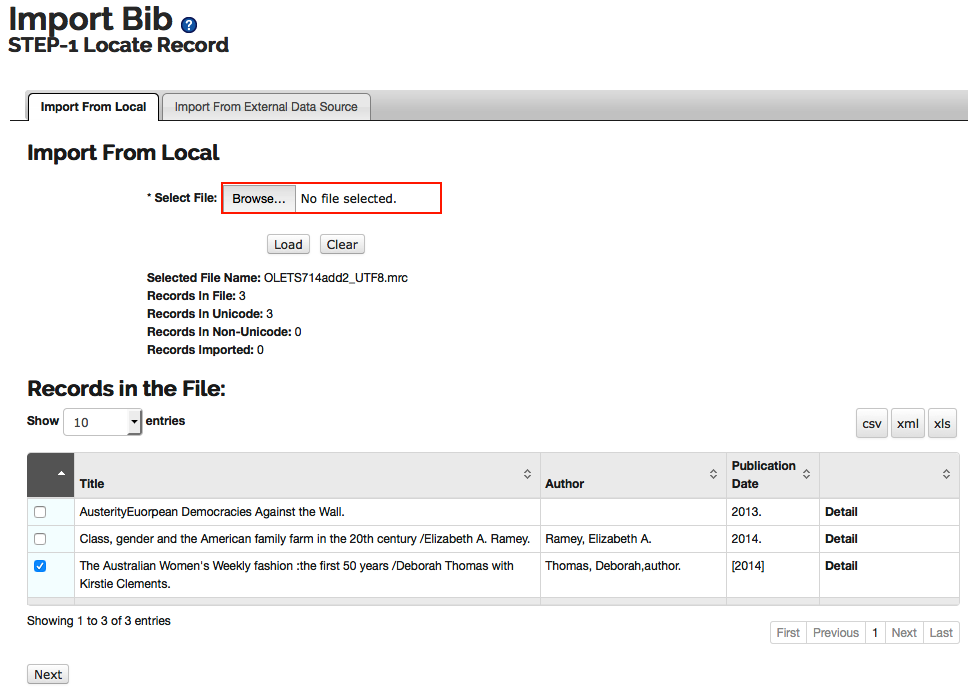
Click browse to search for the file from your local machine.
Click
 .
.Records in the File will contain the records loaded.
Click Detail to view the MARC record.
Select the record you wish to load and click
 .
.
Confirm the Settings by selecting a Name from the drop down list. This will set the User Preferences.
Note
To learn more about creating and modifying User Preferences, see information about Bib Import Preferences under the Batch Process Profile in the OLE Guide to System Administration Functions.
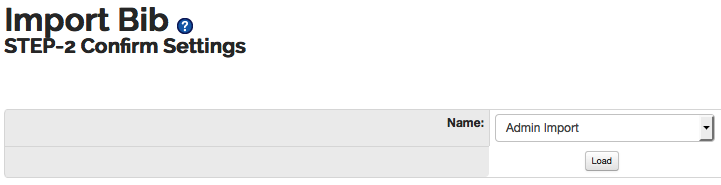
Click
 .
.Choose "New Record" as the Import Type.
Select the Import Status and Permanent Location information from the drop down lists.
Enter any additional tags to remove and/or fields to protect.
Choose the Classification Scheme and modify the Call Number Source as necessary.
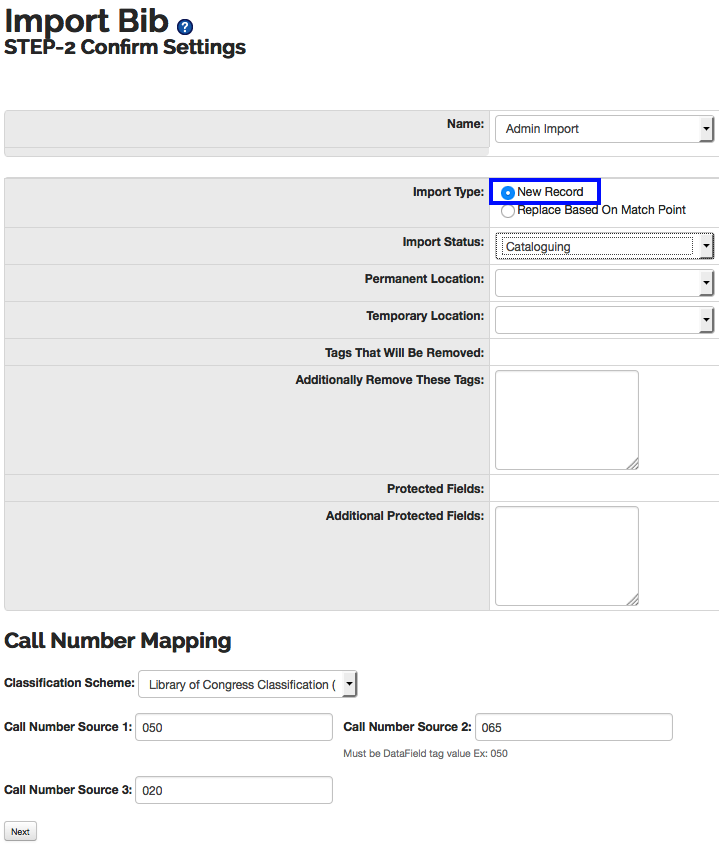
Click
 .
.You may edit the incoming Bibliographic Record as needed when it is displayed. Click Continue Process when you are finished editing the Bibliographic Record.
Note
For more information about record editors, see Editors
You may enter or modify information on the OLE Holdings as appropriate and click Continue Process.
You may enter or modify information on the OLE Item as appropriate and click Save. Both the Item Type and Item Status fields must have values chosen from the drop-down lists.
Note
For more information about the Instance Editors, see the Instance Editor
On the Import Completion screen, you may choose to import more records or return to the main menu. You may also continue to modify the bibliographic, holding and item records by clicking Edit.

Call up the Import Bib interface.
Click browse (or Choose File depending on your browser) to search for the file from your local machine.
Click
.Records in the File will contain the records loaded.
Click Detail to view the MARC record.
Select the record you wish to load or overlay and click
.Confirm the Settings by selecting a Name from the drop down list. This will set the User Preferences.
Note
To learn more about creating and modifying User Preferences, see information about Bib Import Preferences under the Batch Process Profile in the >OLE Guide to System Administration Functions.
Click
.Choose "Based on Match Point" as the Import Type.
You may change the Import Status, Permanent Location, Classification Scheme and/or modify the Call Number Source, or you may leave any of these unchanged to retain the settings on the existing record to be overlaid.
Enter any additional tags to remove and/or fields to protect.
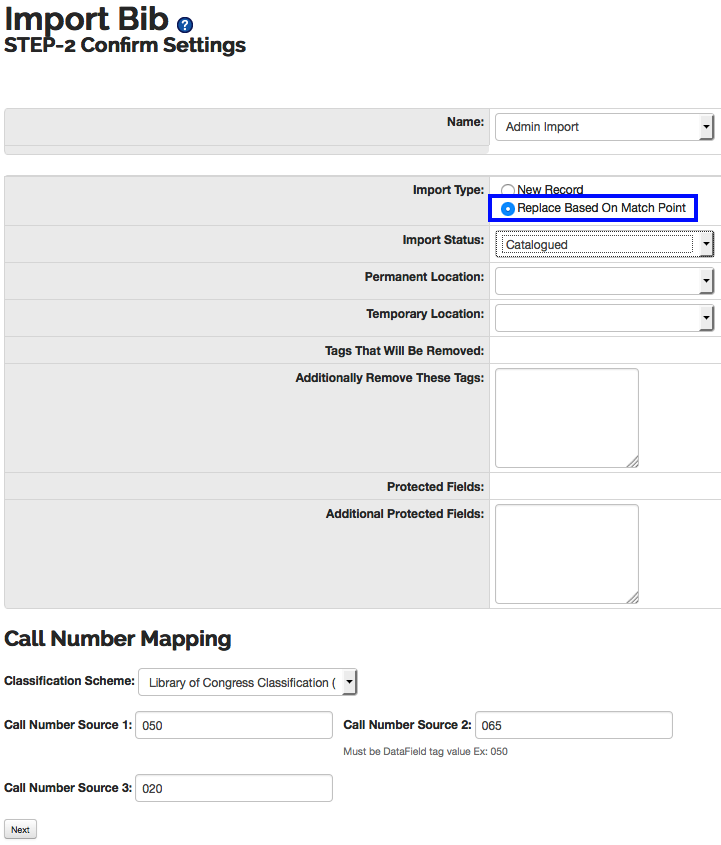
Click
.Note
If OLE cannot find the match point to perform an overlay, a new record will be created. Match points can be set via the User Interface.
Note
To learn more about creating and modifying User Preferences, see information about Bib Import Preferences under the Batch Process Profile in the OLE Guide to System Administration Functions.
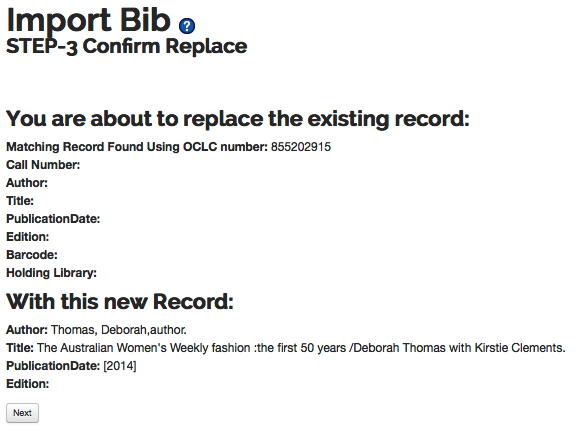
If an existing record is found from the match point, you will see a confirmation screen with information about both the existing bibliographic record (to be overlaid) and the incoming bibliographic record:
If no bibliographic record is found via the match point, the screen will indicate that a new bibliographic record will be created. Click Next to continue the process.
You may edit the incoming Bibliographic Record as needed when it is displayed. Click Submit to save the bibliographic record.
Note
For more information about record editors, see Editors
In order to edit the Holdings and Item record(s) attached to the overlaid record, you will need to use the Instance Editor. These records cannot be edited during the import process when existing records are overlaid.
This interface is here to show the possibility for institutions to import bibliographic records through a Z39.50 protocol. Because of licensing restrictions, each institution will have to implement this feature themselves. For implementation documentation see Searching External Datasources with Z39.50.
Imported MARC bibliographic records must be in UTF8 format.
Imported MARC bibliographic records must be in a file with the file extension “.mrc”
A Bibliographic record may have zero, one, or many OLE Instances.
An OLE Instance cannot exist without being linked to a Bibliographic record.
An OLE Instance must have one Holdings record, but it cannot have more than one Holdings record.
A Holdings record may have zero, one, or many Item records.
An Item record must be linked to a Holdings record. If there are zero Holdings records, there must be zero Item records.
New Bibliographical records created via “Single Bib Import” will by default have one Holdings record with one Item Record created and attached to the Bibliographic record upon import.
Any Holdings or Item records attached to an existing Bibliographic record replaced via “Single Bib Import” will not be affected by the import process.
Linkages to purchase orders, circulation records, etc. will not be affected by the import process.
