 >
>  >
>  >
> 
Rules in KRMS are placed into ordered sets called Agendas. The order of the Rules in an Agenda determines the sequencing: which rule gets evaluated first, second and so on. The Agenda also enables you to include conditional branching logic between Rules. In turn, Agendas are created in Contexts, which may represent any categories that are relevant within your institution. For example, they could correspond to document types or business processes or any other categories, such as licensing. Each Context contains its own agendas, and each Agenda contains its own rules. Rules aren't shared across agendas (though you can copy/paste, they become unique Rule instances), and Agendas aren't shared across Contexts. There is no Context hierarchy, that is, Agendas and Rules cannot be inherited across contexts within any sort of hierarchy.
Tip
Copy rules to save time and typing.
 |
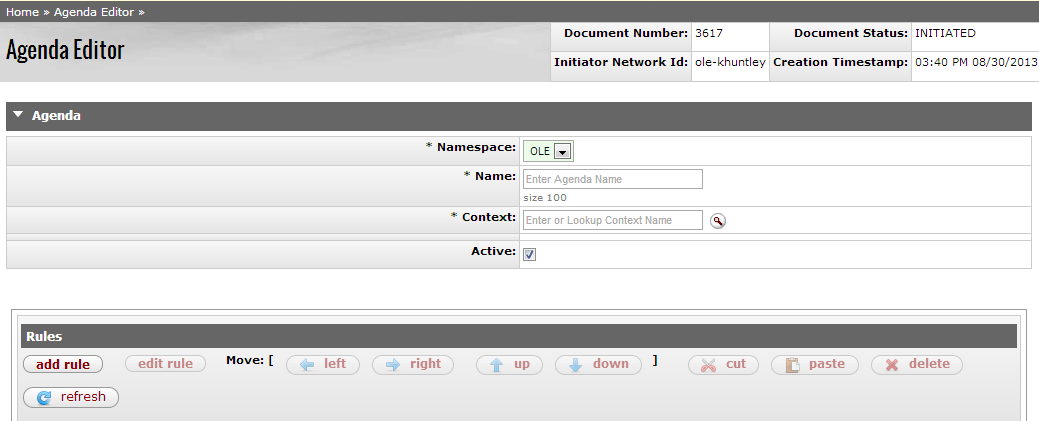
The Agenda Editor includes two unique tabs—Agenda and Rules.
The Agenda tab contains information in which to both identify the Agenda itself and where the Agenda will be applied.
 |
Agenda tab definition
|
Title |
Description |
|
Namespace |
Required. The Namespace to which this Agenda will belong. |
|
Name |
Required. The name of the Agenda. This is a unique identifier and must be unique to the namespace selected. |
|
Context |
Required. A collection of agendas, rules, terms, term specifications.
Enter a Context or search for it from the lookup |
|
Type |
Select the type of Agenda from the drop down list to assign the Agenda to more specific attributes. |
|
Active |
Indicates whether this Agenda is active or inactive. Remove the check mark to deactivate. |
From the Rules tab, users can add multiple rules to an agenda, move rules around in the workflow, and can cut, paste and delete.
 |
Click add rule to open the Rule editor and add a rule. If a rule is already listed, select the rule and click edit rule. The Rule Editor will open. The Rule Editor includes two unique tabs—Rule which also contains the Propositions subtab and Action.
 |
Fill in the descriptive information for the rule in the Rule tab
Rule tab definition
|
Title |
Description |
|
Copy from Existing Rule |
If a similar rule already exists, you may enter the name or search for the rule from the
lookup |
|
Namespace |
Display only. The Namespace to which this Rule will belong. |
|
Type |
Select the type of rule from the drop down list to assign the rule to more specific attributes. |
|
Name |
Required. The name of the Rule. This is a unique identifier and must be unique to the namespace selected. |
| Description | Enter a description for the
rule. To expand the description field, click the expand icon |
|
Active |
Indicates whether this rule is active or inactive. Remove the check mark to deactivate. |
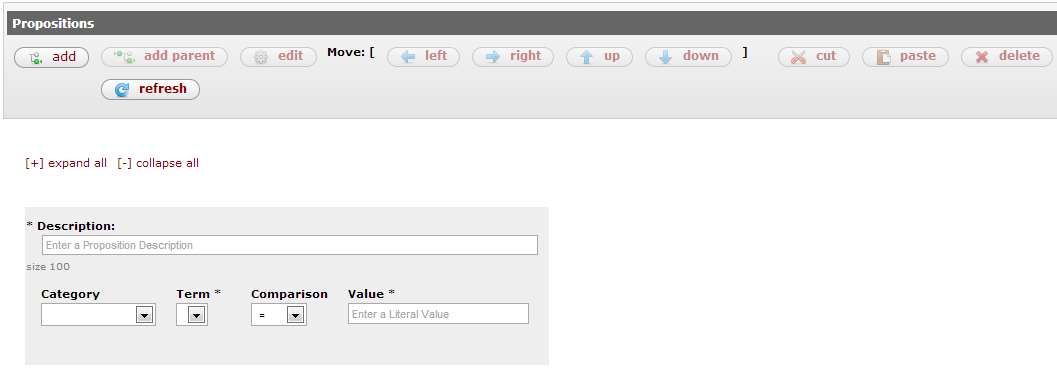
Add a simple proposition by clicking  under the Proposition tab (click add
parent to add compound propositions). Propositions are
functions made up of true and false conditions. Actions can be set to
occur when proposition requirements are met.
Once add is clicked, OLE brings up a new set of fields.
 |
Give the proposition a Description.
Select a Category, Term, and Comparison from the drop down lists. Categories help to narrow down the terms. Terms define a piece of business data that can be used in the construction of proposition (i.e. student GPA, account number, salary, etc.). Enter the Value to set the term (i.e. a student GPA of 4.0, "4.0" is the value)
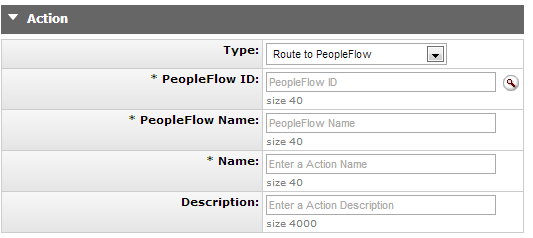
In the Action tab, users can define the action that will be fired when the Proposition is evaluated.
Select the Type of action from the drop down menu. Depending on your selection, additional fields will become available.
No matter what Type is selected, enter a Name.
This is an example of the type Route to PeopleFlow, which includes additional required fields:

Click  to add this rule to the agenda.
Continue to add as many rules as necessary for the agenda. Once complete click 


